alexander
You are working on a feature branch when your lead engineer pings you about a production bug that needs a hotfix right now. Your working directory is a mess of half-finished refactors, uncommitted experiments, and debug statements. You could stash everything, switch to main, fix the bug, then pop the stash and pray nothing conflicts. Or you could open a second terminal, step into a separate directory that already has the hotfix branch checked out, and fix the bug without touching your original workspace at all. That second option is what git worktrees make possible, and once you start using them, the old way of doing things feels like driving with the parking brake on.
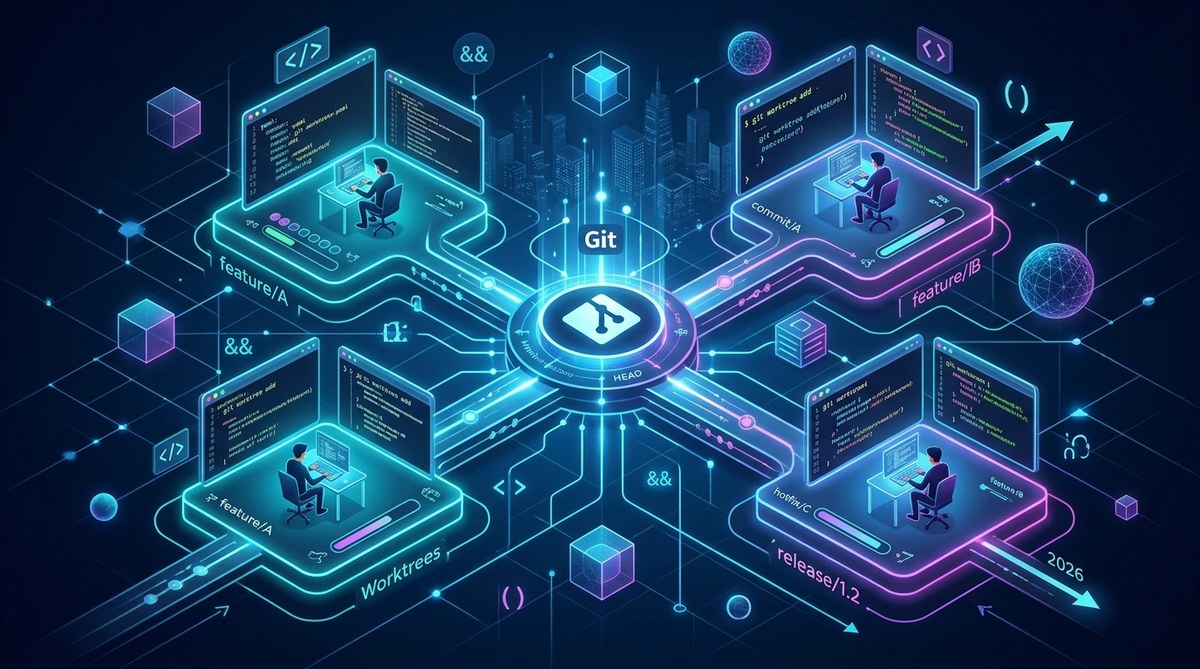
Git worktrees allow you to check out multiple branches from a single repository into separate folders, each with its own working directory and index. This eliminates the need to stash changes or switch branches constantly. For anyone doing parallel development, running AI coding agents on different tasks, or juggling hotfixes alongside feature work, worktrees are the single most impactful workflow upgrade you can make in 2026.
What Actually Makes Worktrees Different
A standard git clone gives you one working tree. You have one set of files on disk at a time, tied to one checked-out branch. When you run git checkout, git rewrites your entire working directory to match the target branch. That takes time, especially on large monorepos. It also means any uncommitted changes must be stashed or committed before you can move.
A worktree is an additional working directory linked to the same .git folder. Each worktree has its own branch, its own index, and its own staging area. They all share the same object database and refs. When you commit in one worktree, the commit is immediately visible in every other worktree. You do not need to push or fetch locally. The branches are all part of the same repository.
This shared architecture is what makes worktrees different from cloning the repo twice. A second clone duplicates the entire .git directory, meaning you double your disk usage and lose the ability to share objects between branches. Worktrees keep your storage footprint small while giving you the isolation of separate directories.
The Core Commands You Need to Know
Before you build a workflow, you need the basic commands. Here is the cheat sheet.
| Command | What It Does | Common Mistake |
|---|---|---|
git worktree add ../path branch |
Creates a new worktree at ../path on branch |
Forgetting to specify a path leads to default behavior |
git worktree add -b new-branch ../path main |
Creates a new branch from main in a fresh worktree |
Assuming the new branch is based on the current HEAD |
git worktree list |
Shows all active worktrees and their branches | Running this in a detached HEAD without realizing it |
git worktree remove ../path |
Removes the worktree and cleans up metadata | Trying to remove a worktree with uncommitted changes |
git worktree prune |
Deletes stale worktree references | Not running this after manually deleting a worktree folder |
The most important detail is that you cannot check out the same branch in two worktrees simultaneously. Git enforces this rule to prevent conflicting working states. If you try, git will refuse with a clear error message. This is a feature, not a limitation. It protects you from yourself.
A Practical Parallel Workflow
Let us walk through a realistic scenario. You are building a new checkout flow for an e-commerce platform. You have three tasks in flight. Task one is the core feature on a branch called checkout-redesign. Task two is fixing a tax calculation bug on fix-tax-logic. Task three is updating the payment provider SDK on update-stripe-sdk. You want to work on all three without closing editors or losing your train of thought.
- Start from your main repository directory. Run
git worktree add ../myproject-checkout checkout-redesign. This creates a new folder calledmyproject-checkoutwith thecheckout-redesignbranch checked out. - Run
git worktree add ../myproject-tax fix-tax-logic. Now you have a second worktree for the tax fix. - Run
git worktree add ../myproject-stripe update-stripe-sdk. A third worktree for the Stripe update. - Open each folder in a separate IDE window or terminal tab. You can now work on all three branches simultaneously.
- When you finish a task, commit and push from that worktree. Open a pull request as you normally would.
You never stash. You never switch branches. You never close a file that you want to keep open for reference. Each worktree is an independent sandbox.
Where Worktrees Shine in 2026
The resurgence of worktrees in 2025 and 2026 is tied directly to the rise of AI coding agents. Tools like Claude Code, GitHub Copilot in agent mode, and Cursor’s Composer can each operate in their own worktree. You can assign one agent to write unit tests, another to refactor a module, and a third to update documentation. They all work on the same repository without stepping on each other.
Worktrees also solve a problem that stashing cannot fix. Stashing hides your changes temporarily, but it does not let you keep two divergent states of the same file in memory. If you need to compare a bug fix on one branch with a feature implementation on another branch, you want both branches checked out at the same time so you can open their files side by side. Worktrees give you that.
Another strong use case is running tests against multiple branches. You can have one worktree running a long integration test suite on a feature branch while you continue coding in another worktree on a different branch. The test runner and your editor do not share a filesystem state, so there is no risk of the test picking up your in-progress changes.
Expert advice: Keep your worktrees outside your main repository folder. A common pattern is to create a
_worktreesdirectory at the same level as your repo. Name each worktree folder after the branch or the ticket number. This makesgit worktree listoutput readable and prevents accidental deletion of important work.
Common Mistakes and How to Avoid Them
Worktrees are simple, but they have sharp edges. Here are the pitfalls I see most often.
-
Forgetting to clean up. When you delete a worktree folder manually, git does not know about it. Run
git worktree pruneto clean up the stale metadata. Better yet, always usegit worktree removeinstead of deleting the folder yourself. -
Building dependencies in the wrong place. If your project uses compiled languages or has a build cache, each worktree needs its own build output directory. Some build tools assume a single project root and can overwrite artifacts from another worktree. Configure your build system to isolate output per worktree path.
-
Ignoring the main worktree. The original clone is itself a worktree. You cannot remove it with
git worktree remove. If you want to use worktrees exclusively, you can delete the contents of the original working directory and treat it as a bare repository. This is an advanced pattern and not necessary for most teams. -
Running
git pullin the wrong worktree. Each worktree has its own branch state. If you rungit pullin one worktree, only that worktree’s branch is updated. You must pull in each worktree individually. Some teams automate this with a script that loops over all active worktrees.
A Comparison of Worktree Approaches
| Approach | Disk Usage | Isolation Level | Best For |
|---|---|---|---|
| Multiple clones | High (duplicate .git) |
Full isolation | Teams on different repositories |
| Single repo with stashing | Low | None (one state at a time) | Solo developers with one task |
| Git worktrees | Low (shared objects) | Branch-level isolation | Parallel development, AI agents, hotfixes |
| Bare repo with worktrees | Lowest (no default worktree) | Full branch isolation | Power users managing many branches |
The bare repo approach is worth mentioning. You initialize a bare clone, then add worktrees for every branch you need. This removes the original working directory entirely. Every branch lives in its own folder. It is the cleanest setup if you manage ten or more branches regularly.
Integrating Worktrees with Your Existing Tools
Most modern editors and IDEs handle worktrees well. VS Code lets you open a worktree folder as a separate window. IntelliJ-based IDEs treat each worktree as a separate project. The key is to open the worktree folder, not the main repository folder, when you want to work on that branch.
For CI/CD pipelines, worktrees do not change your process. You still push branches to the remote and let your CI pick them up. The worktree is a local development convenience. Your pull request workflow stays the same.
If you use AI Coding Assistants That Are Actually Worth It for Developers in 2026, worktrees let you run multiple assistant sessions on the same codebase without conflicts. Each assistant gets its own sandboxed view of the repository.
When Not to Use Worktrees
Worktrees are not a universal replacement for branches or clones. If you need to test against a completely different database schema or a different dependency set, a separate clone or a containerized environment is better. Worktrees share the same object store and the same refs. They are designed for parallel work on the same codebase, not for divergent environments.
Worktrees also add mental overhead if you only ever work on one branch at a time. If your workflow is linear, stick with a single checkout. The complexity of managing multiple worktree paths is not worth it for a solo developer doing one task per day.
Putting Worktrees into Your Daily Routine
The best way to adopt worktrees is to start with a single use case. The next time you need to fix a bug while working on a feature, try git worktree add ../hotfix main instead of stashing. See how it feels to have both branches open at once. Once you experience the freedom of never losing your place, you will find yourself reaching for worktrees more and more.
You can also automate worktree creation with a shell function. Here is a simple one to add to your .bashrc or .zshrc:
function gwt() {
  local branch="$1"
  local path="../$(basename $(pwd))-$branch"
  git worktree add "$path" "$branch" 2>/dev/null || git worktree add -b "$branch" "$path" main
  code "$path"
}
This function creates a worktree for a branch and opens it in VS Code. If the branch does not exist, it creates it from main. Adjust the code command for your editor of choice.
The Worktree Mindset
The real shift with worktrees is not technical. It is mental. You stop thinking of your working directory as a single space that you must protect and manage. Instead, you see it as a pool of parallel contexts that you can enter and leave at will. Each worktree holds a complete snapshot of your progress on a specific task. You never have to remember what you were doing because the worktree itself is the memory.
This mindset becomes especially powerful when you combine worktrees with 7 Version Control Strategies That Prevent Disaster in 2026. Worktrees reduce the friction of branching, which means you branch more often. More branches mean smaller, safer commits. Smaller commits mean easier code reviews and fewer merge conflicts.
Making Parallel Development Your Default
If you work on a team, introduce worktrees during your next sprint planning. Assign each developer’s tasks to separate worktrees. Watch how quickly the team stops asking “Can you switch branches real quick?” and starts asking “Which worktree is that in?” It is a small vocabulary change that signals a big workflow improvement.
For DevOps engineers managing multiple services or microservices, worktrees keep each service’s branch isolated without requiring a full clone of each repository. You can have one clone of your monorepo with ten worktrees, each tracking a different service’s development branch. This is far more efficient than ten clones.
Start today. Pick a branch you are about to work on. Create a worktree for it. Work there for the rest of the day. Tomorrow, when you need to switch tasks, you will already have the infrastructure in place. Your future self will thank you for the five minutes it took to set it up.